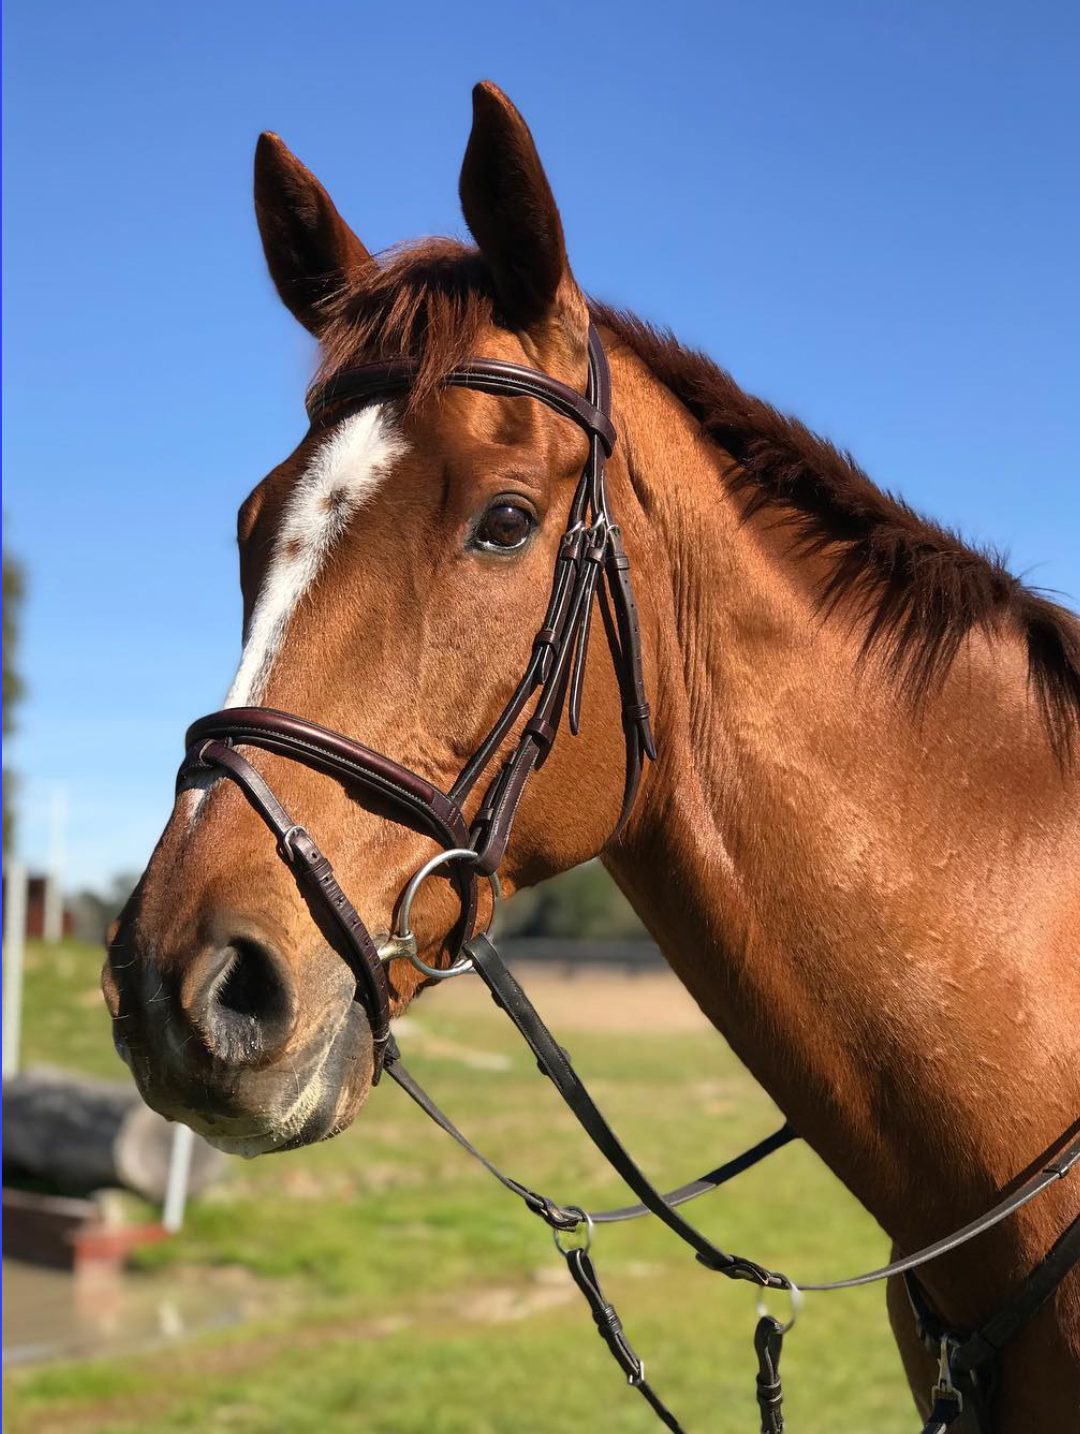
The Do's and Don'ts of Reference Photos:
Below I've given some examples of what makes a good reference photo and what does not. To further elaborate on that I've listed some qualities of good and bad reference photos so you know what sort of photo references are best for me to work from! The better the reference photo the more accurate and detailed I can make the artwork, especially if it’s a subject I’m not very familiar with. I’m often able to get by with poor quality photos of dogs and cats because I have a lot of experience with drawing them. I understand some people may have photos of pets or family that have passed away. Just have more than one reference photo for best results.
Do: try to take the photo in natural lighting such as sunlight or daylight bulbs if you must be in doors. Even studio lighting is great if you have access to that. It also helps to capture photo references on a camera vs a cell phone (unless you have a new cell phone with a high quality camera). I prefer to work with photos that don’t have any Instagram or Snapchat filters on them as it distorts the colors and tends to make images pixelated. If a photo is too dark or too light in some spots, I can always edit them in to enhance the color or contrast if needed, but it has to have areas of perfect lighting so I have a starting point. If you are taking a photo of a pet, you can hold a treat or toy above your camera or phone lens to get them to look at the camera! This will keep their attention temporarily while you take several shots of their face (usually from the shoulders up to the tip of the ears). But make sure not to take the photos from too far away or too close up.
Don't: take the photo in a dimly lit room. There are going to be lots of shadows and patches of dark color so whether you are having a portrait of a person or a pet drawn, it will create inaccurate colors, loss of detail and make it much more difficult for me to accurately capture the subject. People also tend to use the flash in this scenario. Don’t. You will catch a lot of glare on your pets eyes and/or get uneven areas of contrast where it’ll be too blown out or too dark to see the bone structure of your pets face. You also want to be sure your subject is not moving or blurred or that the photo was not taken at a weird or awkward angle as this will make it hard to accurately capture the subject's essence and will create a poor composition for the drawing or painting. You should also refrain from sending reference photos that have been edited or have instagram filters over them. One last thing to avoid is photos that are taken from too far away. They may be GREAT photos, but if the pet’s face is too far away for me to make out the details, it’s not going to come out that great! Likewise, avoid taking photos that are TOO close to the face!
I hope this has been helpful! If you have further questions or are unsure about a photo, please contact me! I am happy to answer all questions and concerns you may have. I can be reached at MelissaConleyArtist@Gmail.com


